Arrow Tool Group Prime-Line
Become a DealerContact Us

How To:

Remove & Replace Sliding Patio Door Roller Assemblies

Before You Begin


It's recommended that you work with one other person for safety. Typically, you'll only need one flathead screwdriver for the replacement.

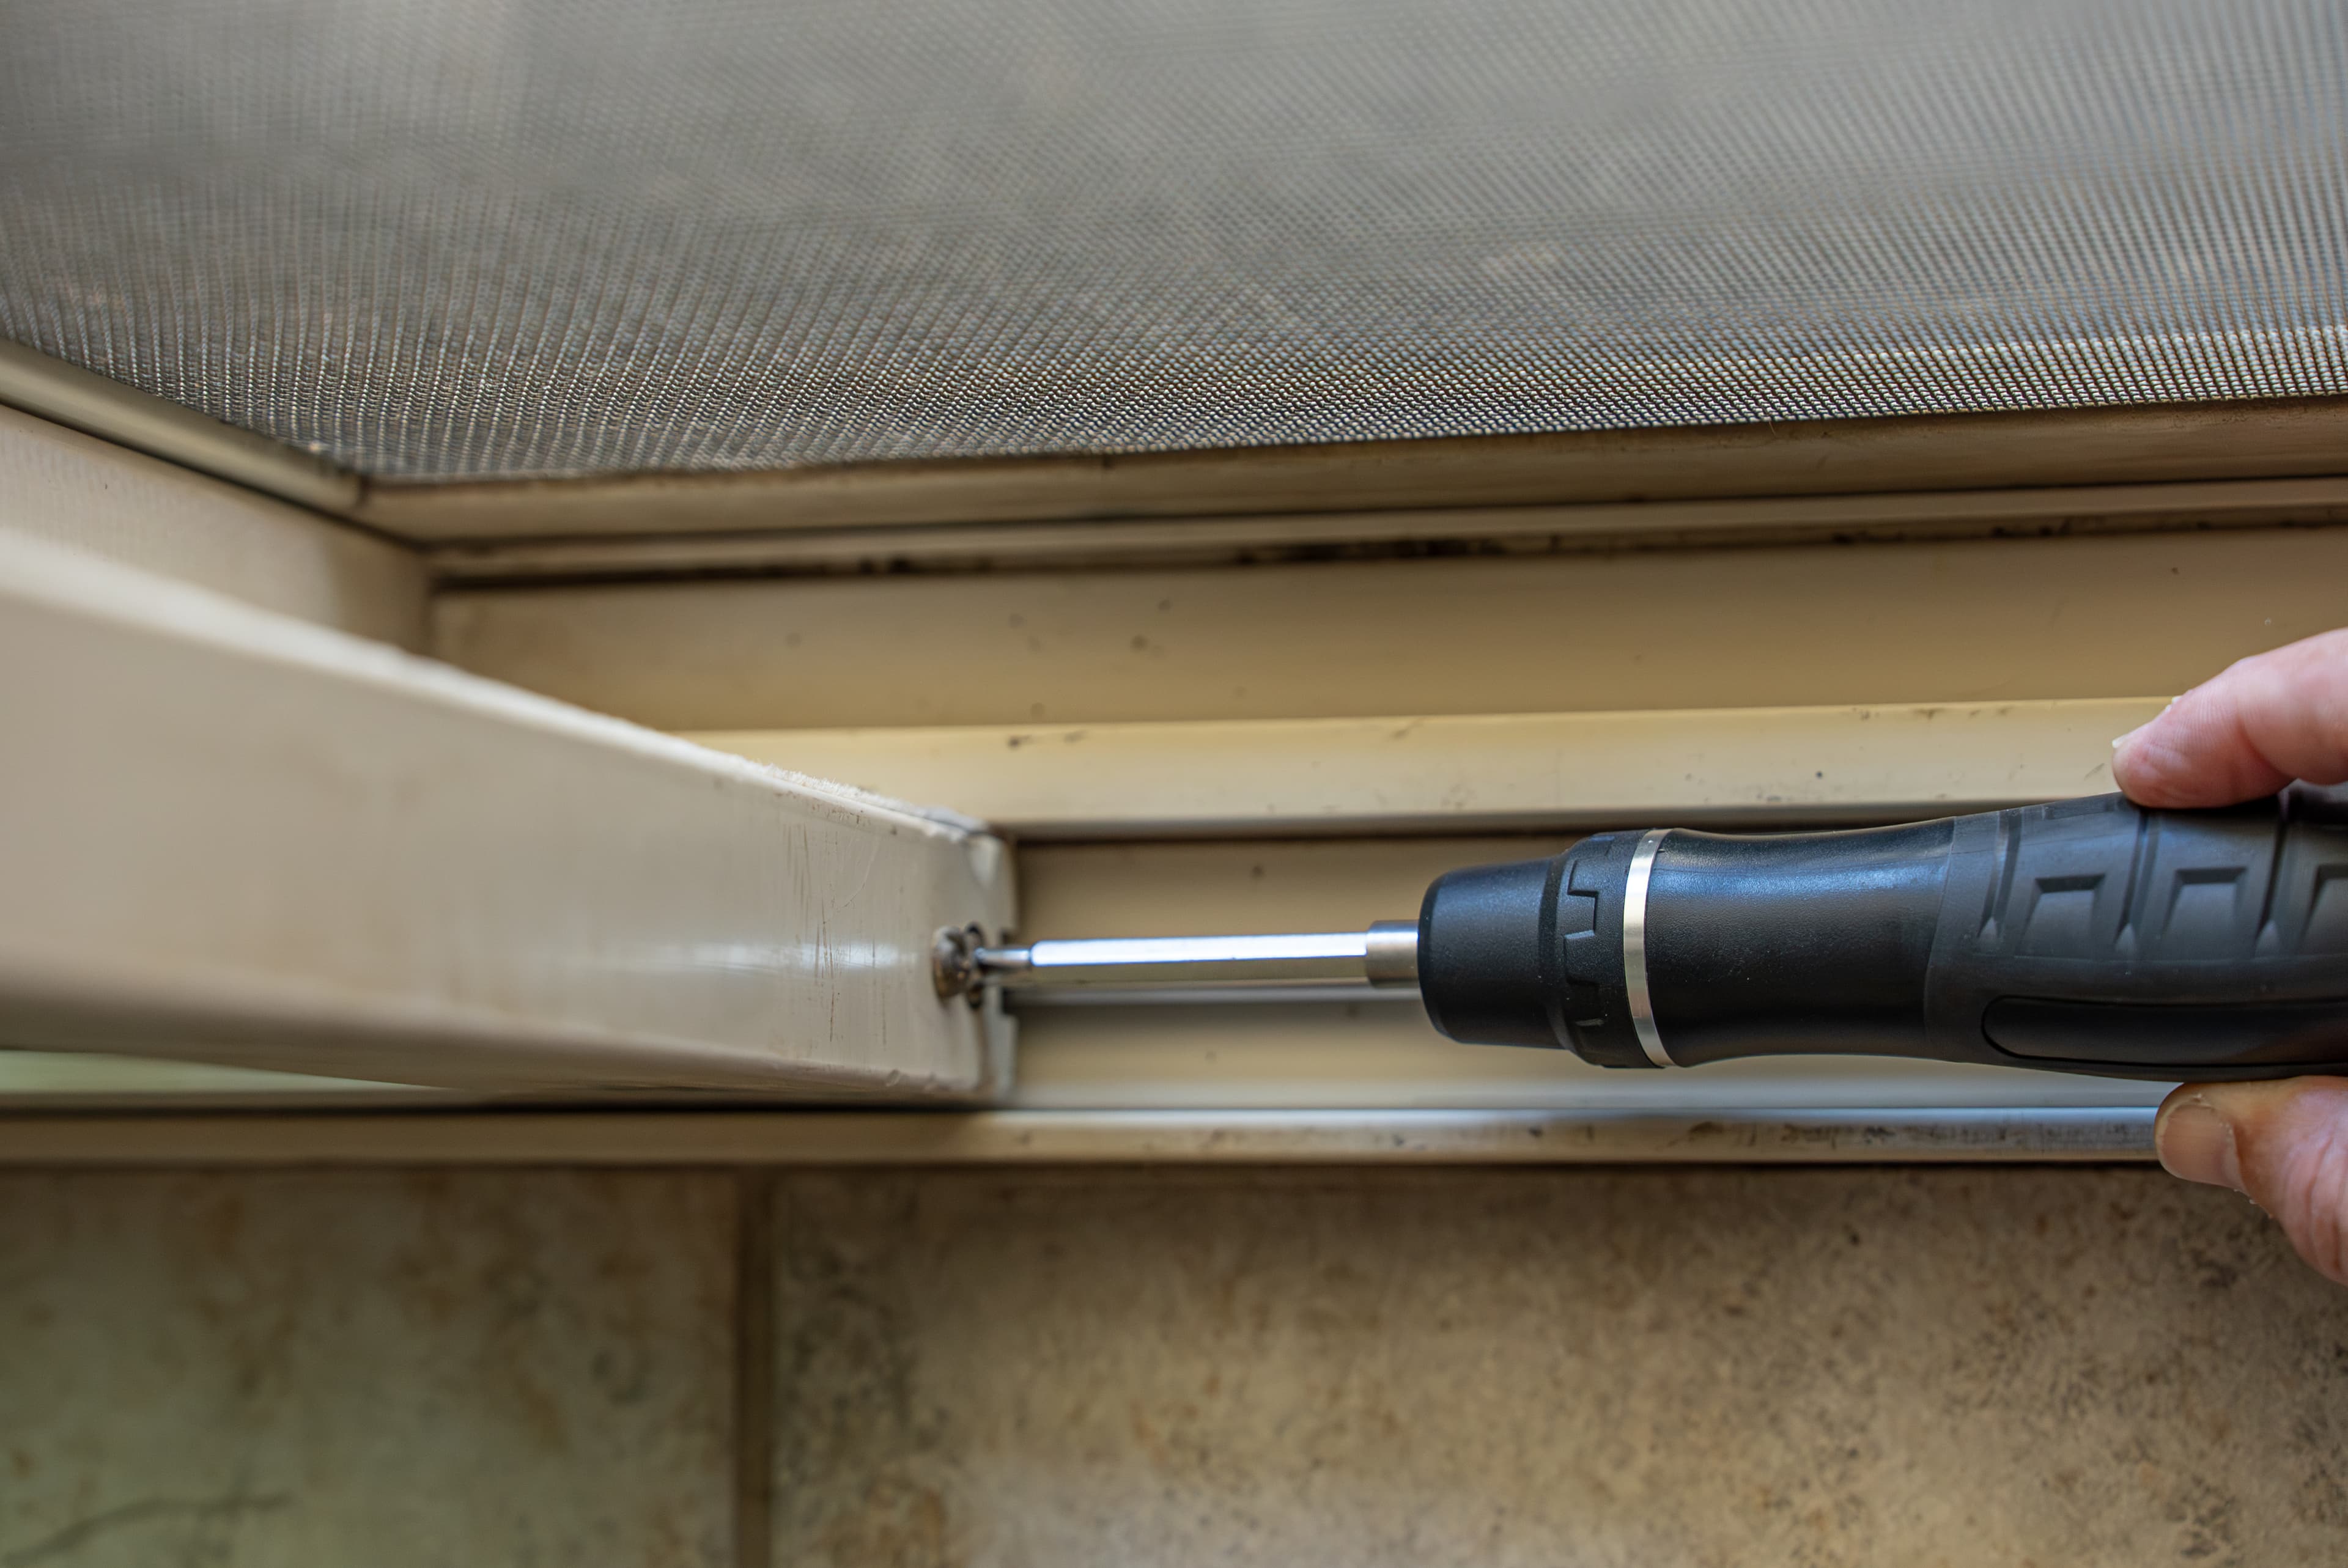
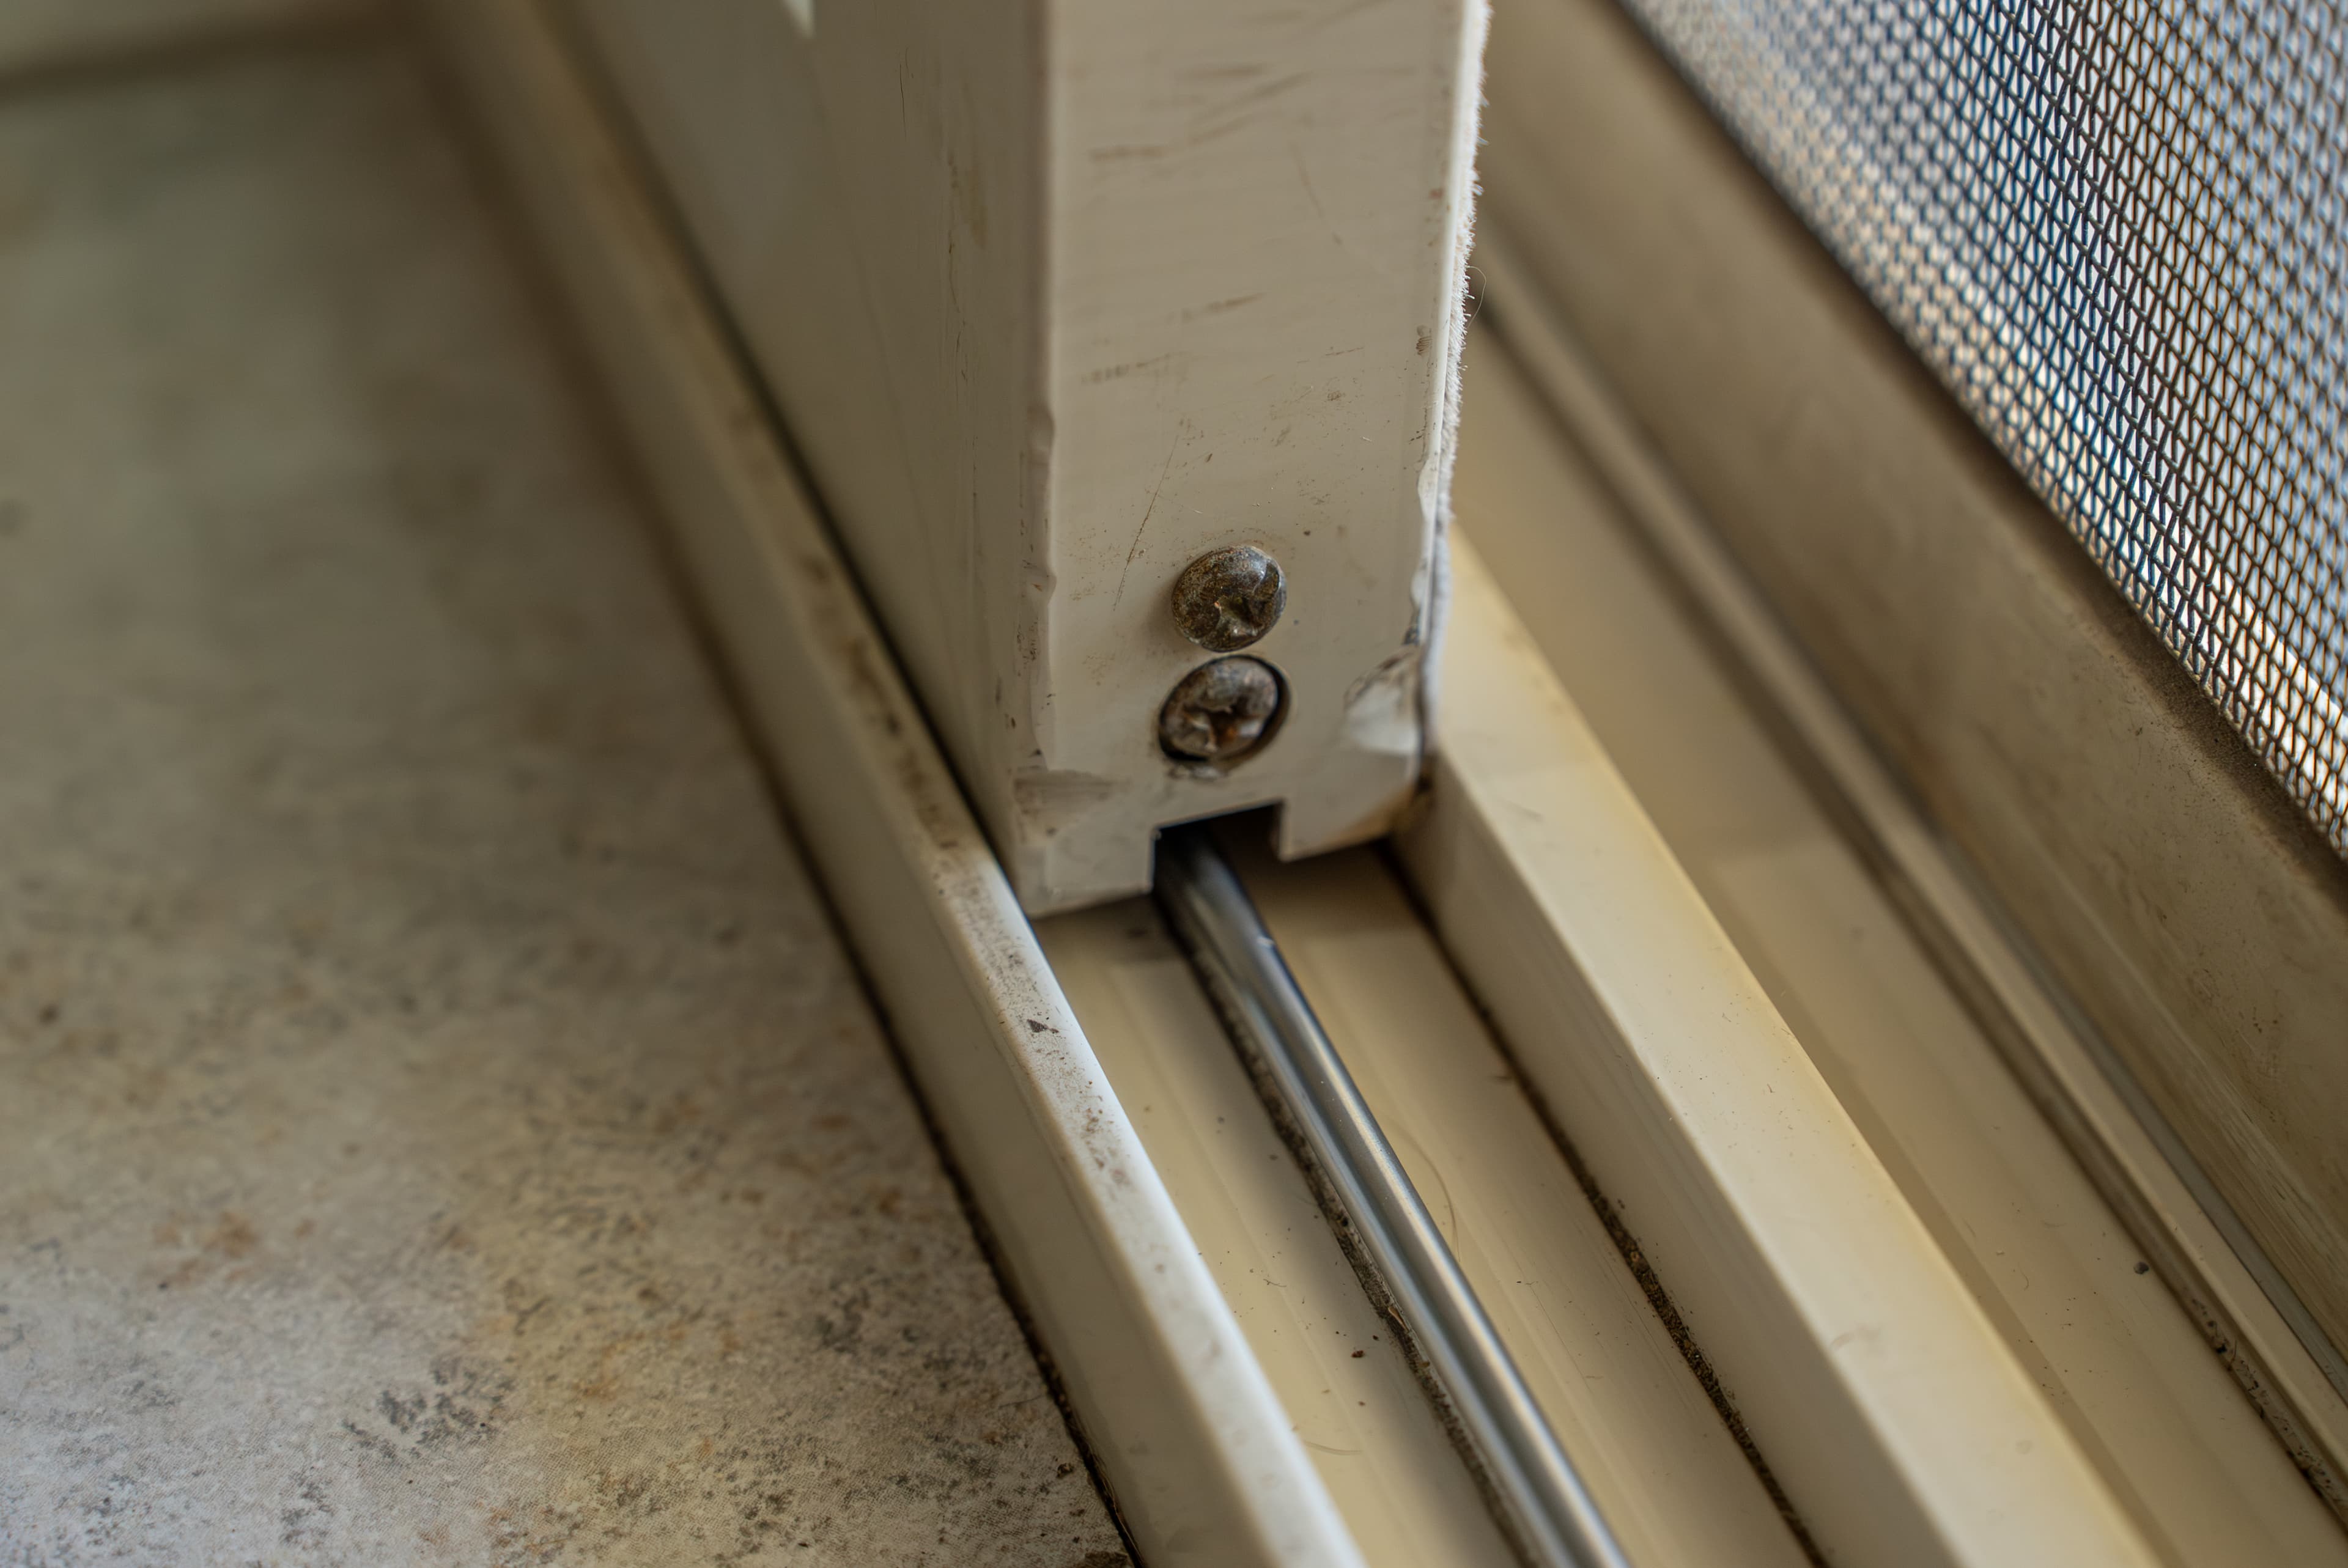
Step 1: Remove Screen Door

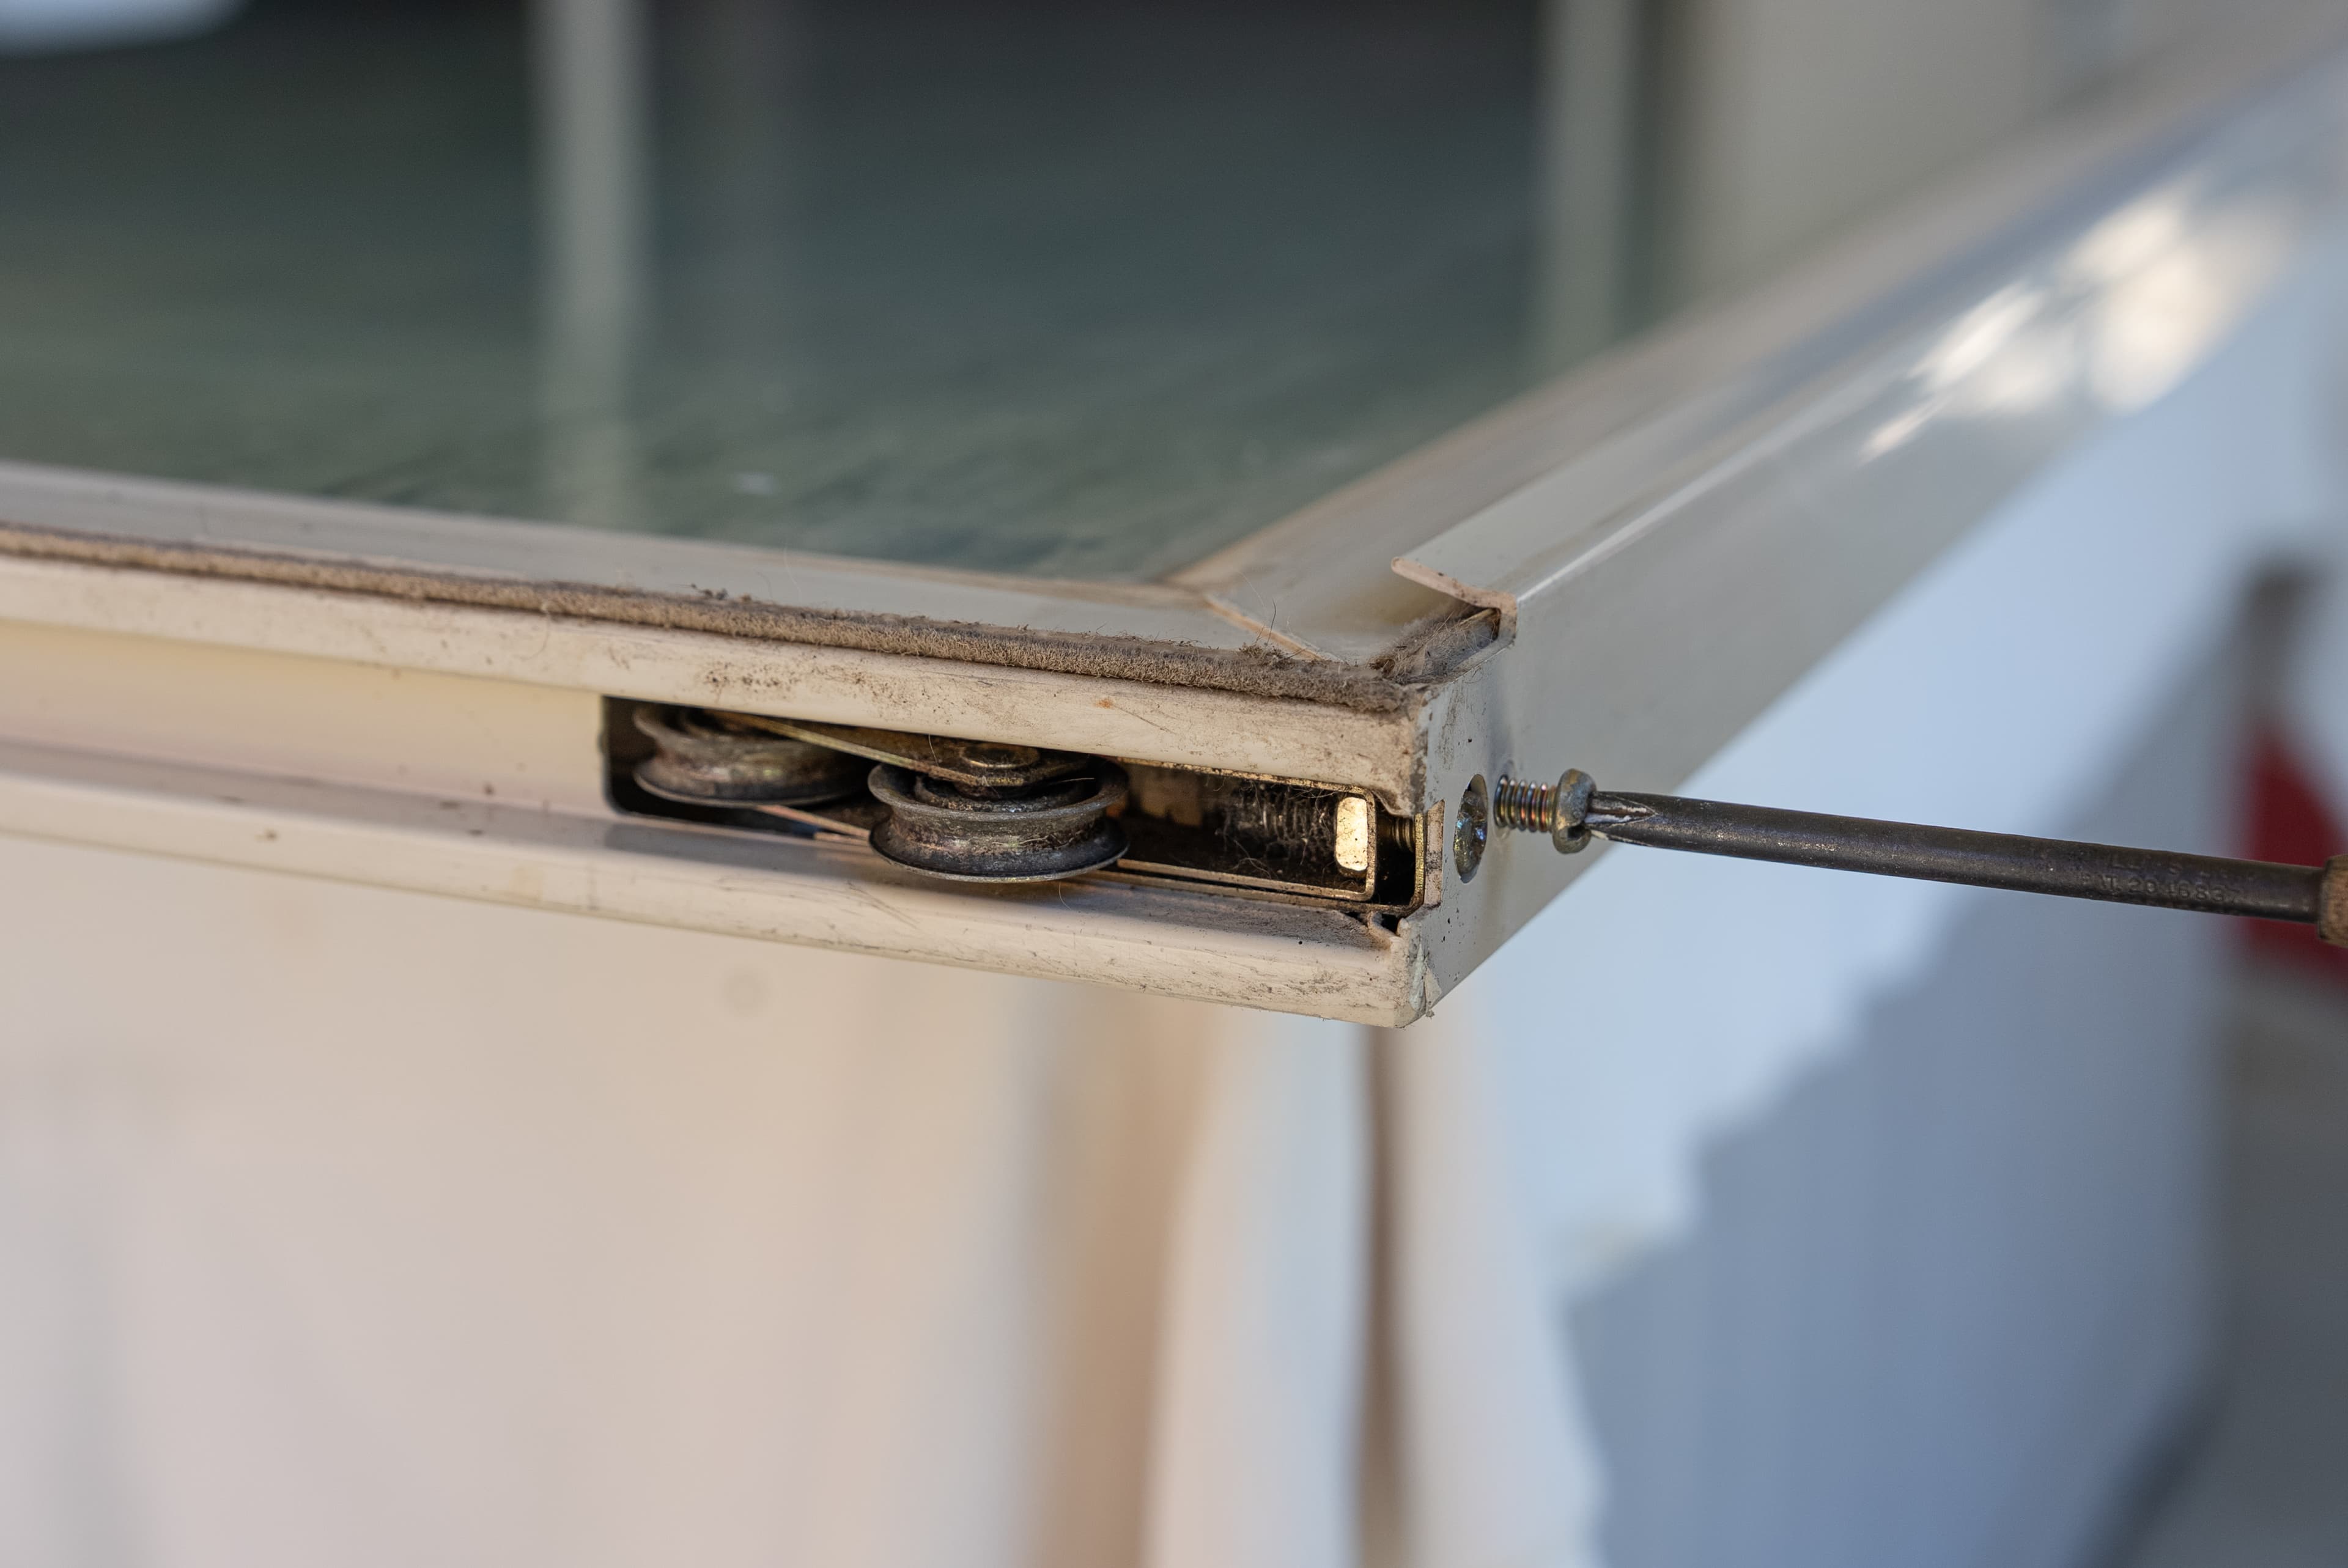
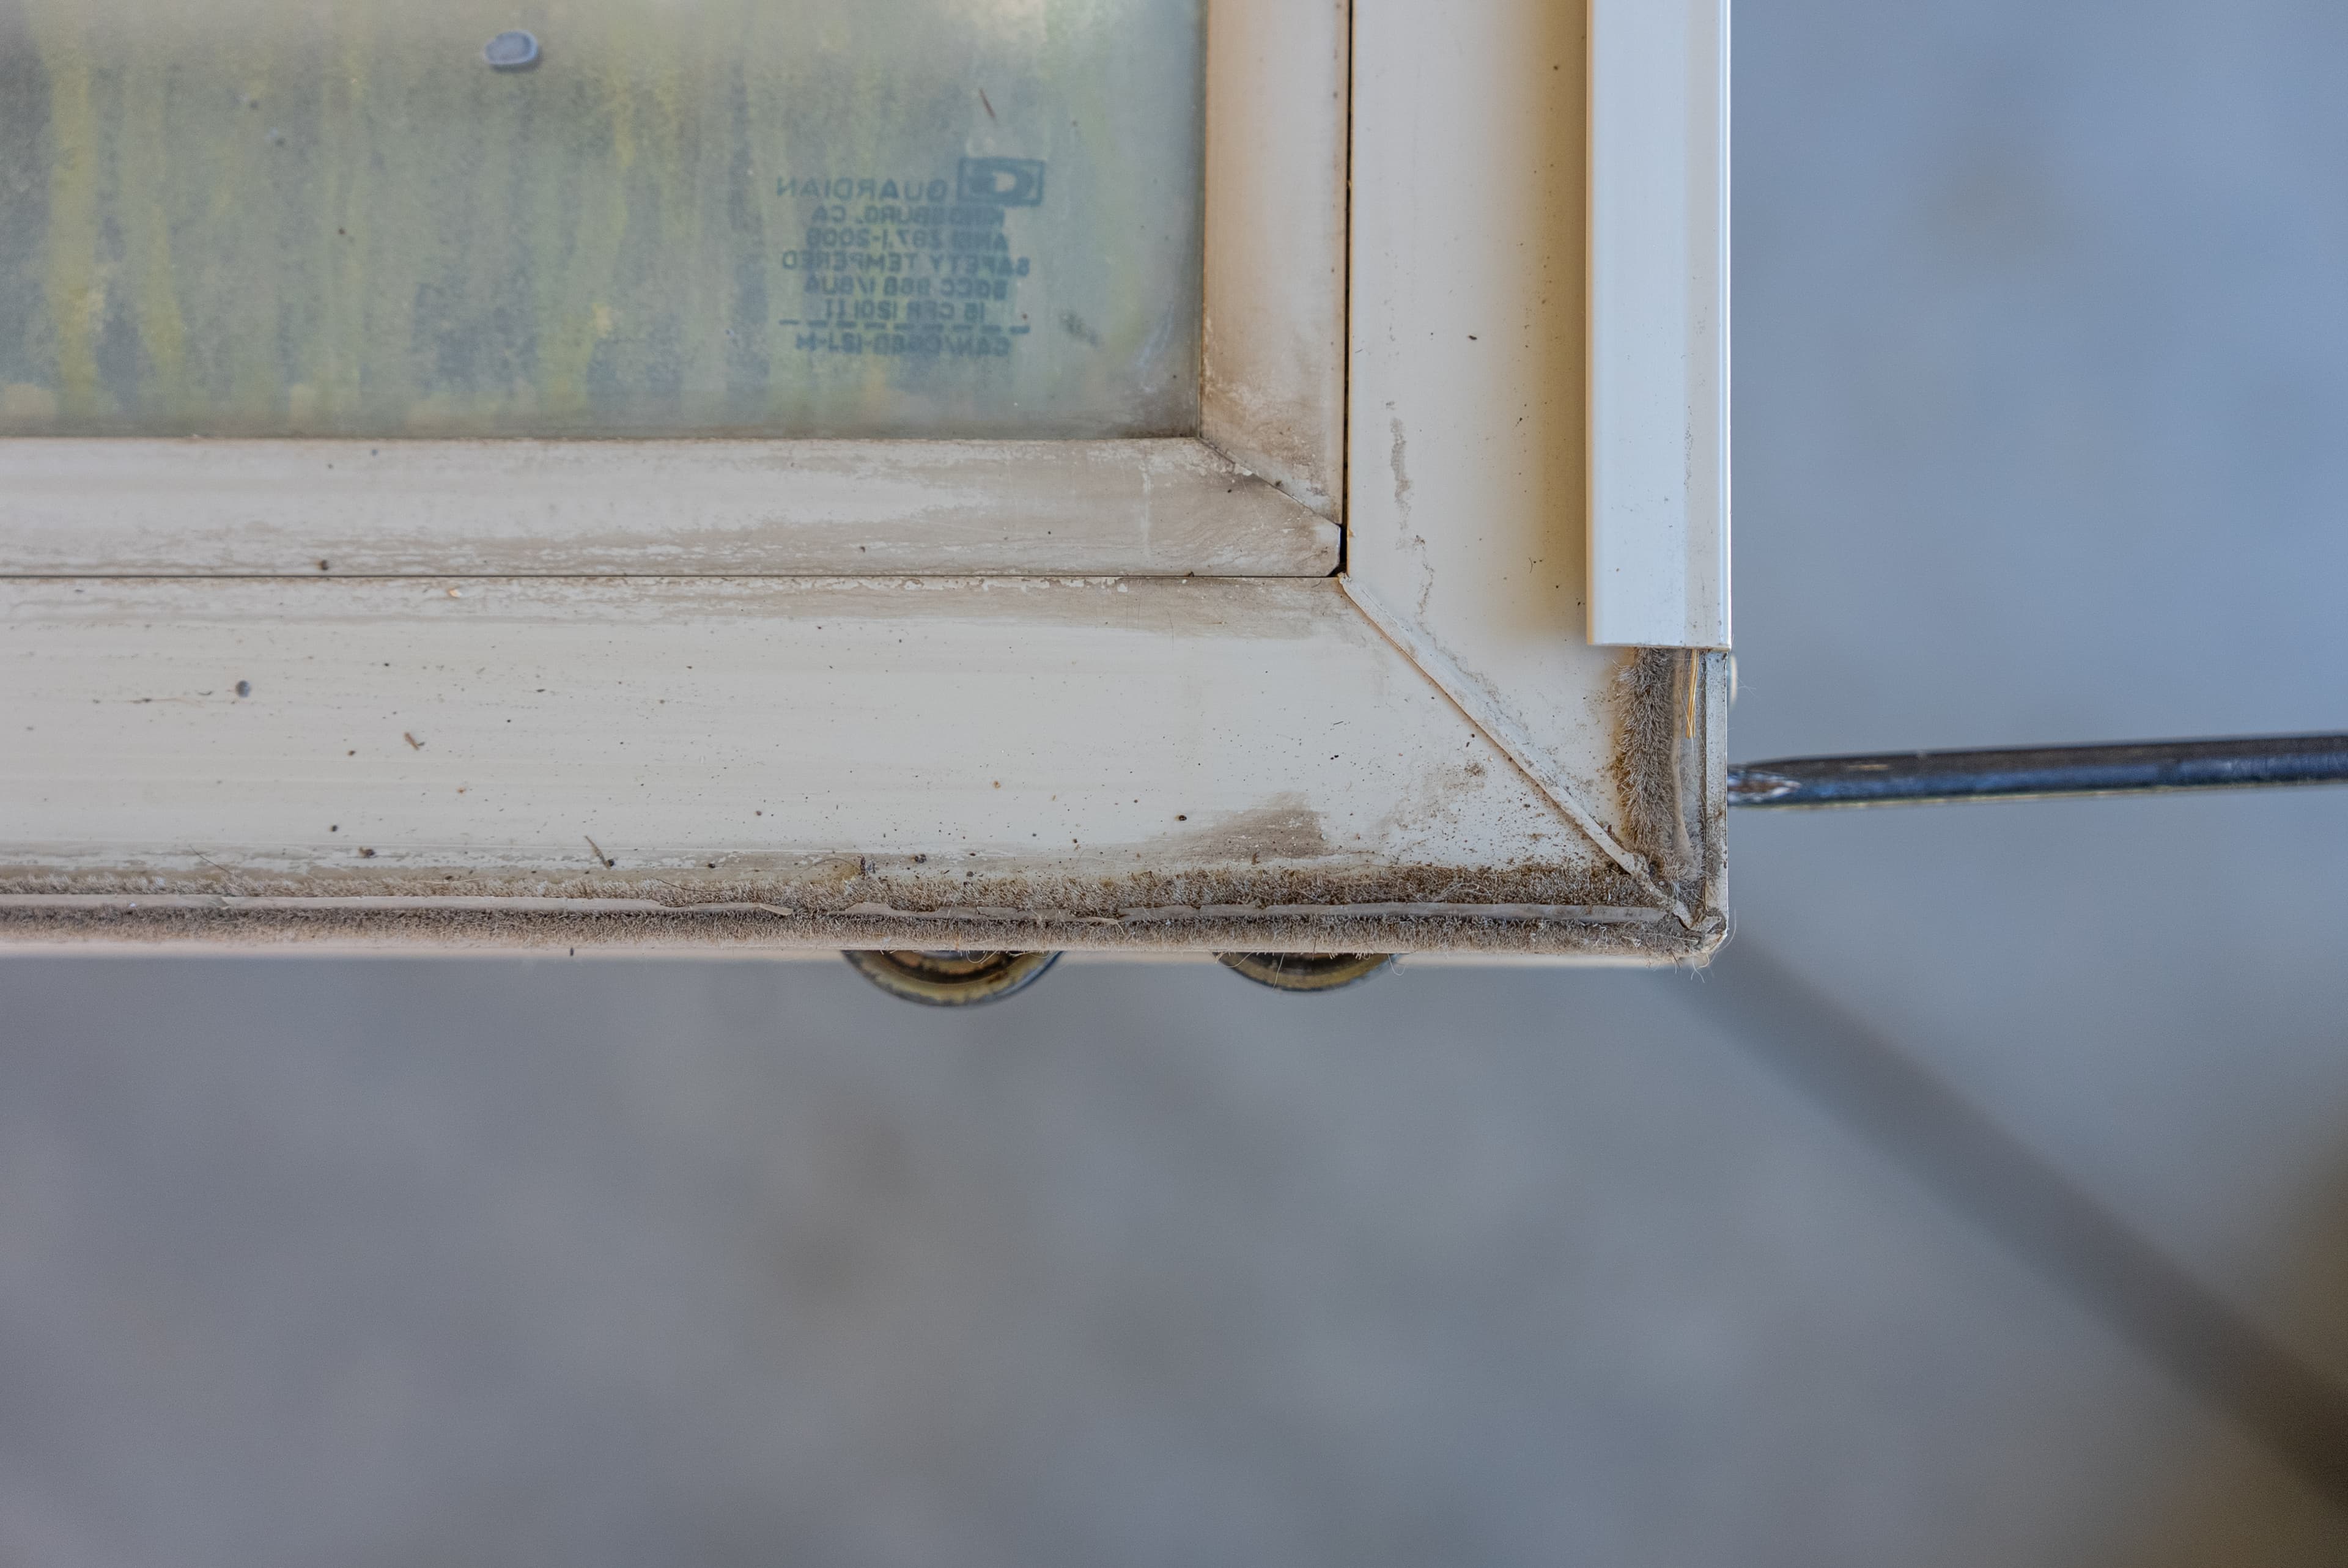
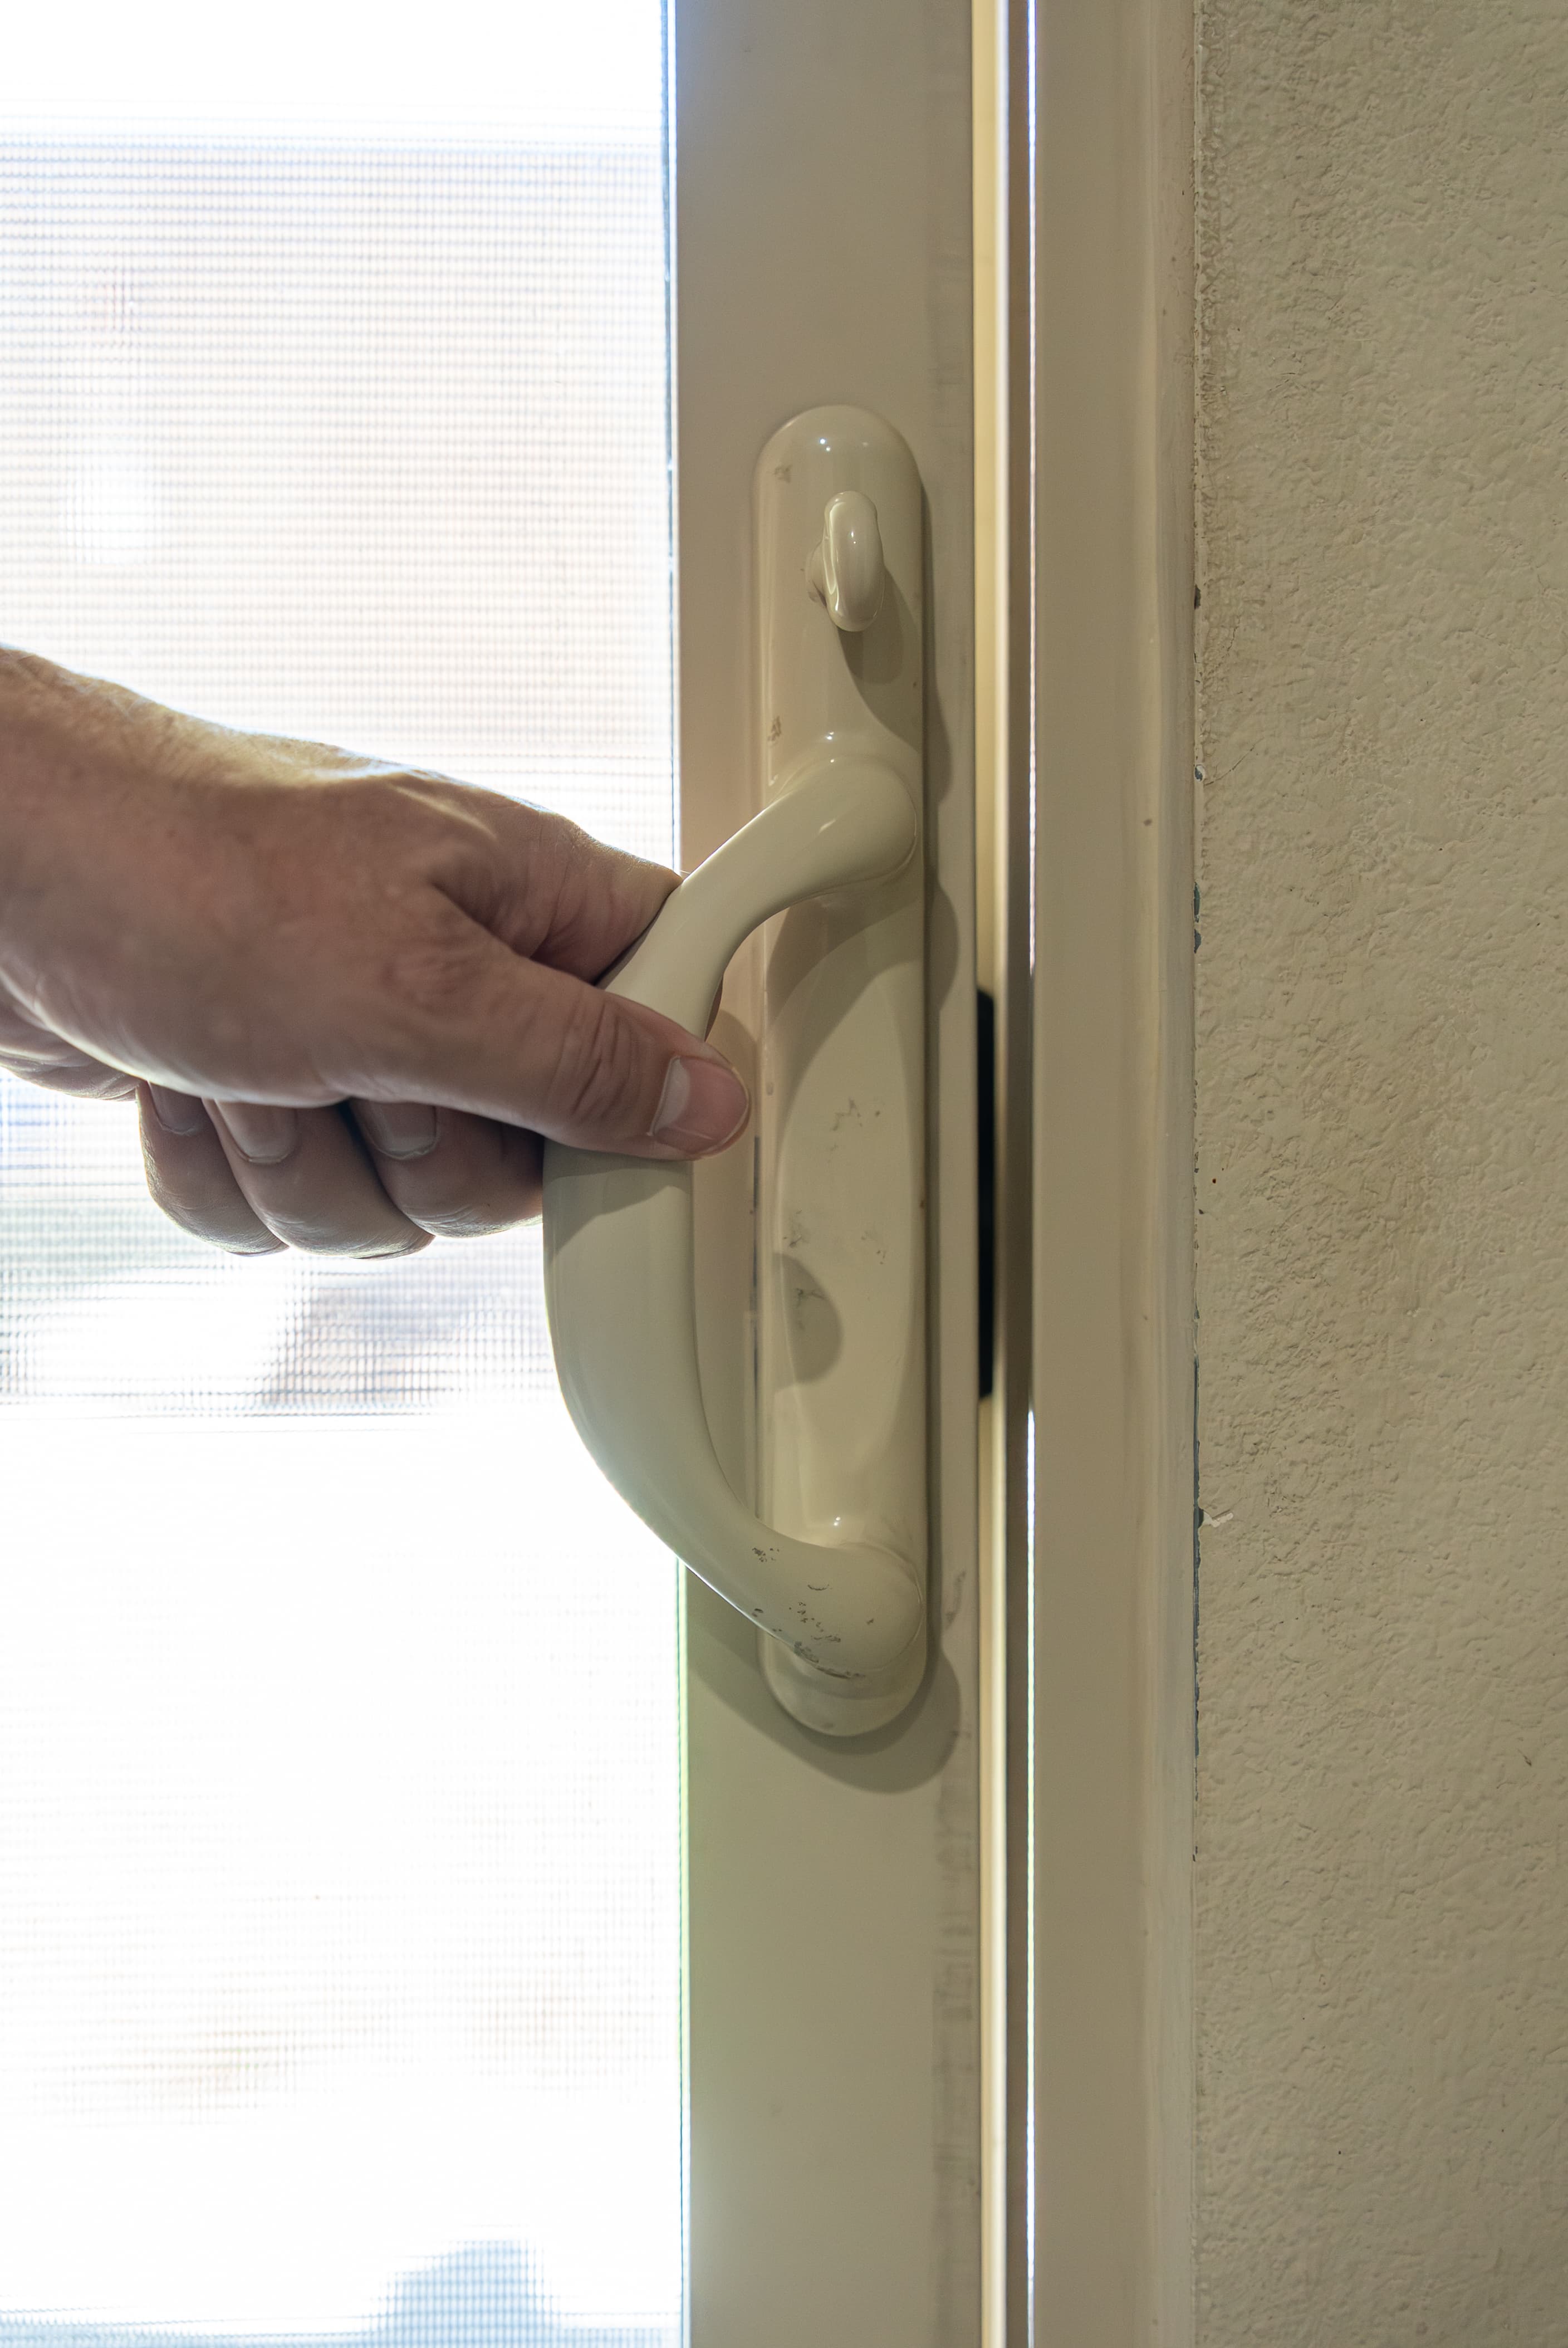
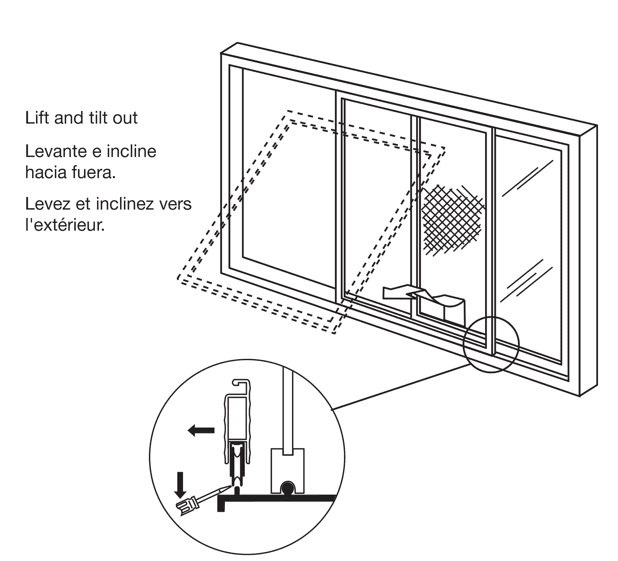
Remove the sliding screen door by gently prying wheels off track with a flathead screwdriver. Back off adjusting screw if necessary (lower the ride height). 


Carefully remove the screen door and inspect for any damage, then set aside. 


NOTE: It is recommended to lay down protection (towels, blankets, etc.) for carpeting and floors during this procedure. 

Step 2: Remove Sliding Door

Check the upper track and remove any anti-lift devices. In most cases, the sliding door can now be removed. With the help of another person, lift the door up into the top track, tilting the bottom of the door out of the lower track. Lower the door after it clears the track and remove it from the top track, then walk the door to your work area. 

NOTE: Some doors cannot be removed unless other steps are completed.


  • If your door cannot be removed, please continue to Step 3
  • If your door is removed at this point, please move on to Step 4

Step 3: If It Won't Come Out

The rollers may have been adjusted so far that they lock the door on the track. You will need to adjust the rollers back up into the frame using a screwdriver and turning the adjustment screw counterclockwise.


The adjustment screws are located at the very bottom corner of the door, through a small hole or "U"-shaped punch.

If your door is removed at this point, please move on to Step 4

In some cases, the addition of raised hardwood or tile floors prevents the removal of the sliding door. If so, the door needs to be removed from the outside and should be done by a professional.


If this is the case for your door, STOP, and contact a professional.


WARNING: DO NOT REMOVE EXPOSED SCREWS ON THE DOOR SURFACE, THESE HOLD THE GLASS FRAME TOGETHER! ADJUST ONLY THE SCREWS THROUGH THE HOLE OR SLOT!

Step 4: Remove the Roller


Inspect the mounting screw and keep it so you know which one you have to buy if it's damaged. If it isn't damaged, put it to the side for reinstallation later.


Determine if the corner frame screw goes through the roller tab. If it does, it's okay to remove the frame screw at this time (lubricate to ensure smooth action).


Some roller assemblies have flared tabs or dimples to help lock them in place. If necessary, bend these inward to release the roller.

Different roller assemblies require different mounting positions; pay attention and adjust as needed.

Remove the old roller (you may need to exercise caution to pry out the housing if stuck in the frame).


With a slotted (flat head) screwdriver, pry the roller assembly loose and remove.

Step 5: Reinstalling Everything

Install the replacement roller assembly.


This example uses the item D 1988 as the new replacement. Different rollers may require unique instructions, so please refer to the instructions included in the roller if you have any questions.


Reverse any steps taken to reinstall your door. It will be necessary to ensure the door is square to your frame after installation.


Adjust the rollers up OR down with the adjusting screw on the roller assembly to align the door properly with the wall jamb (this can take a few minutes). In addition, the door must be square to your frame to ensure proper latching. 

Step 6: If the Track is Damaged

If the track is damaged, you will need to repair the track using a track cap. Please review our How To: Repair Your Sliding Glass Door Track video for more information. 

Your sliding glass door is now repaired/replaced and ready to be used.