.svg)
.svg)
How To:
Install a Pocket Door
Before You Begin
You will need the following tools for the installation:
- Hammer
- Level
- Hack Saw
- Wood Saw
- Miter Box
- Phillips Screwdriver
- Chalk Line
NOTE: This instructional guide is intended to be for general use; however, all components referenced are included in the Pocket Door Kit 164553, which is meant to be used on 24"- 36" x 6'8" doors.
Step 1: Measure
Calculate and measure the opening for your new pocket door.
Length
The rough opening should be 84-1/2" in height from the header (top of the opening) to the finished floor.
Width
To calculate the necessary frame door width, multiply the actual door width by two (2) and add 1".
Example: 36" x 2 = 72"; 72" + 1" = 73" opening
Step 2: Cut to Size
A. Place the template (A) at the top of the header assembly as shown in Figure A; fold at the dotted line over the edge and mark at the desired door size. Using a hack saw, cut both the wood and track.
B. Turn the header on the side; place the template (B) on the header sides and fold at the dotted line as shown in Figure B. Mark at the desired door size and cut the header sides only. Turn the header over and repeat on the other side.
NOTE: You won't need to cut if your door is 36"; all other sized doors will need to be cut using the templates included.
Step 3: Install Head Bracket
The adjustable head bracket can be installed onto the header assembly using 5/8" screws. Center the screw in the slot; the header assembly is now ready for installation.
Step 4: Mount the Jamb Bracket
Step 5: Attach the Header
Step 6: Secure Spreader Plate
Using nails, secure the spreader plate to the pair of split studs. Duplicate this step with the split jamb.
Step 7: Secure the Stud and Jamb Assembly
Step 8: Install the Bumper End
Step 9: Prepare the Face Jamb
Step 10: Install Face Jamb & Head Finish
Step 11: Install the Hangers
Place the hangers in the track and fit them through the space between track and jamb.
Step 12: Install Hanger Brackets to the Door
Step 13: Mount the Door
Lift the door and insert the adjusting bolt into the slot of the bracket until it's properly seated. Continue to turn the adjusting bolt (using the supplied wrench) until the door reaches level and is aligned. Tighten the lock nut down against the bracket and adjusting bolt as shown.
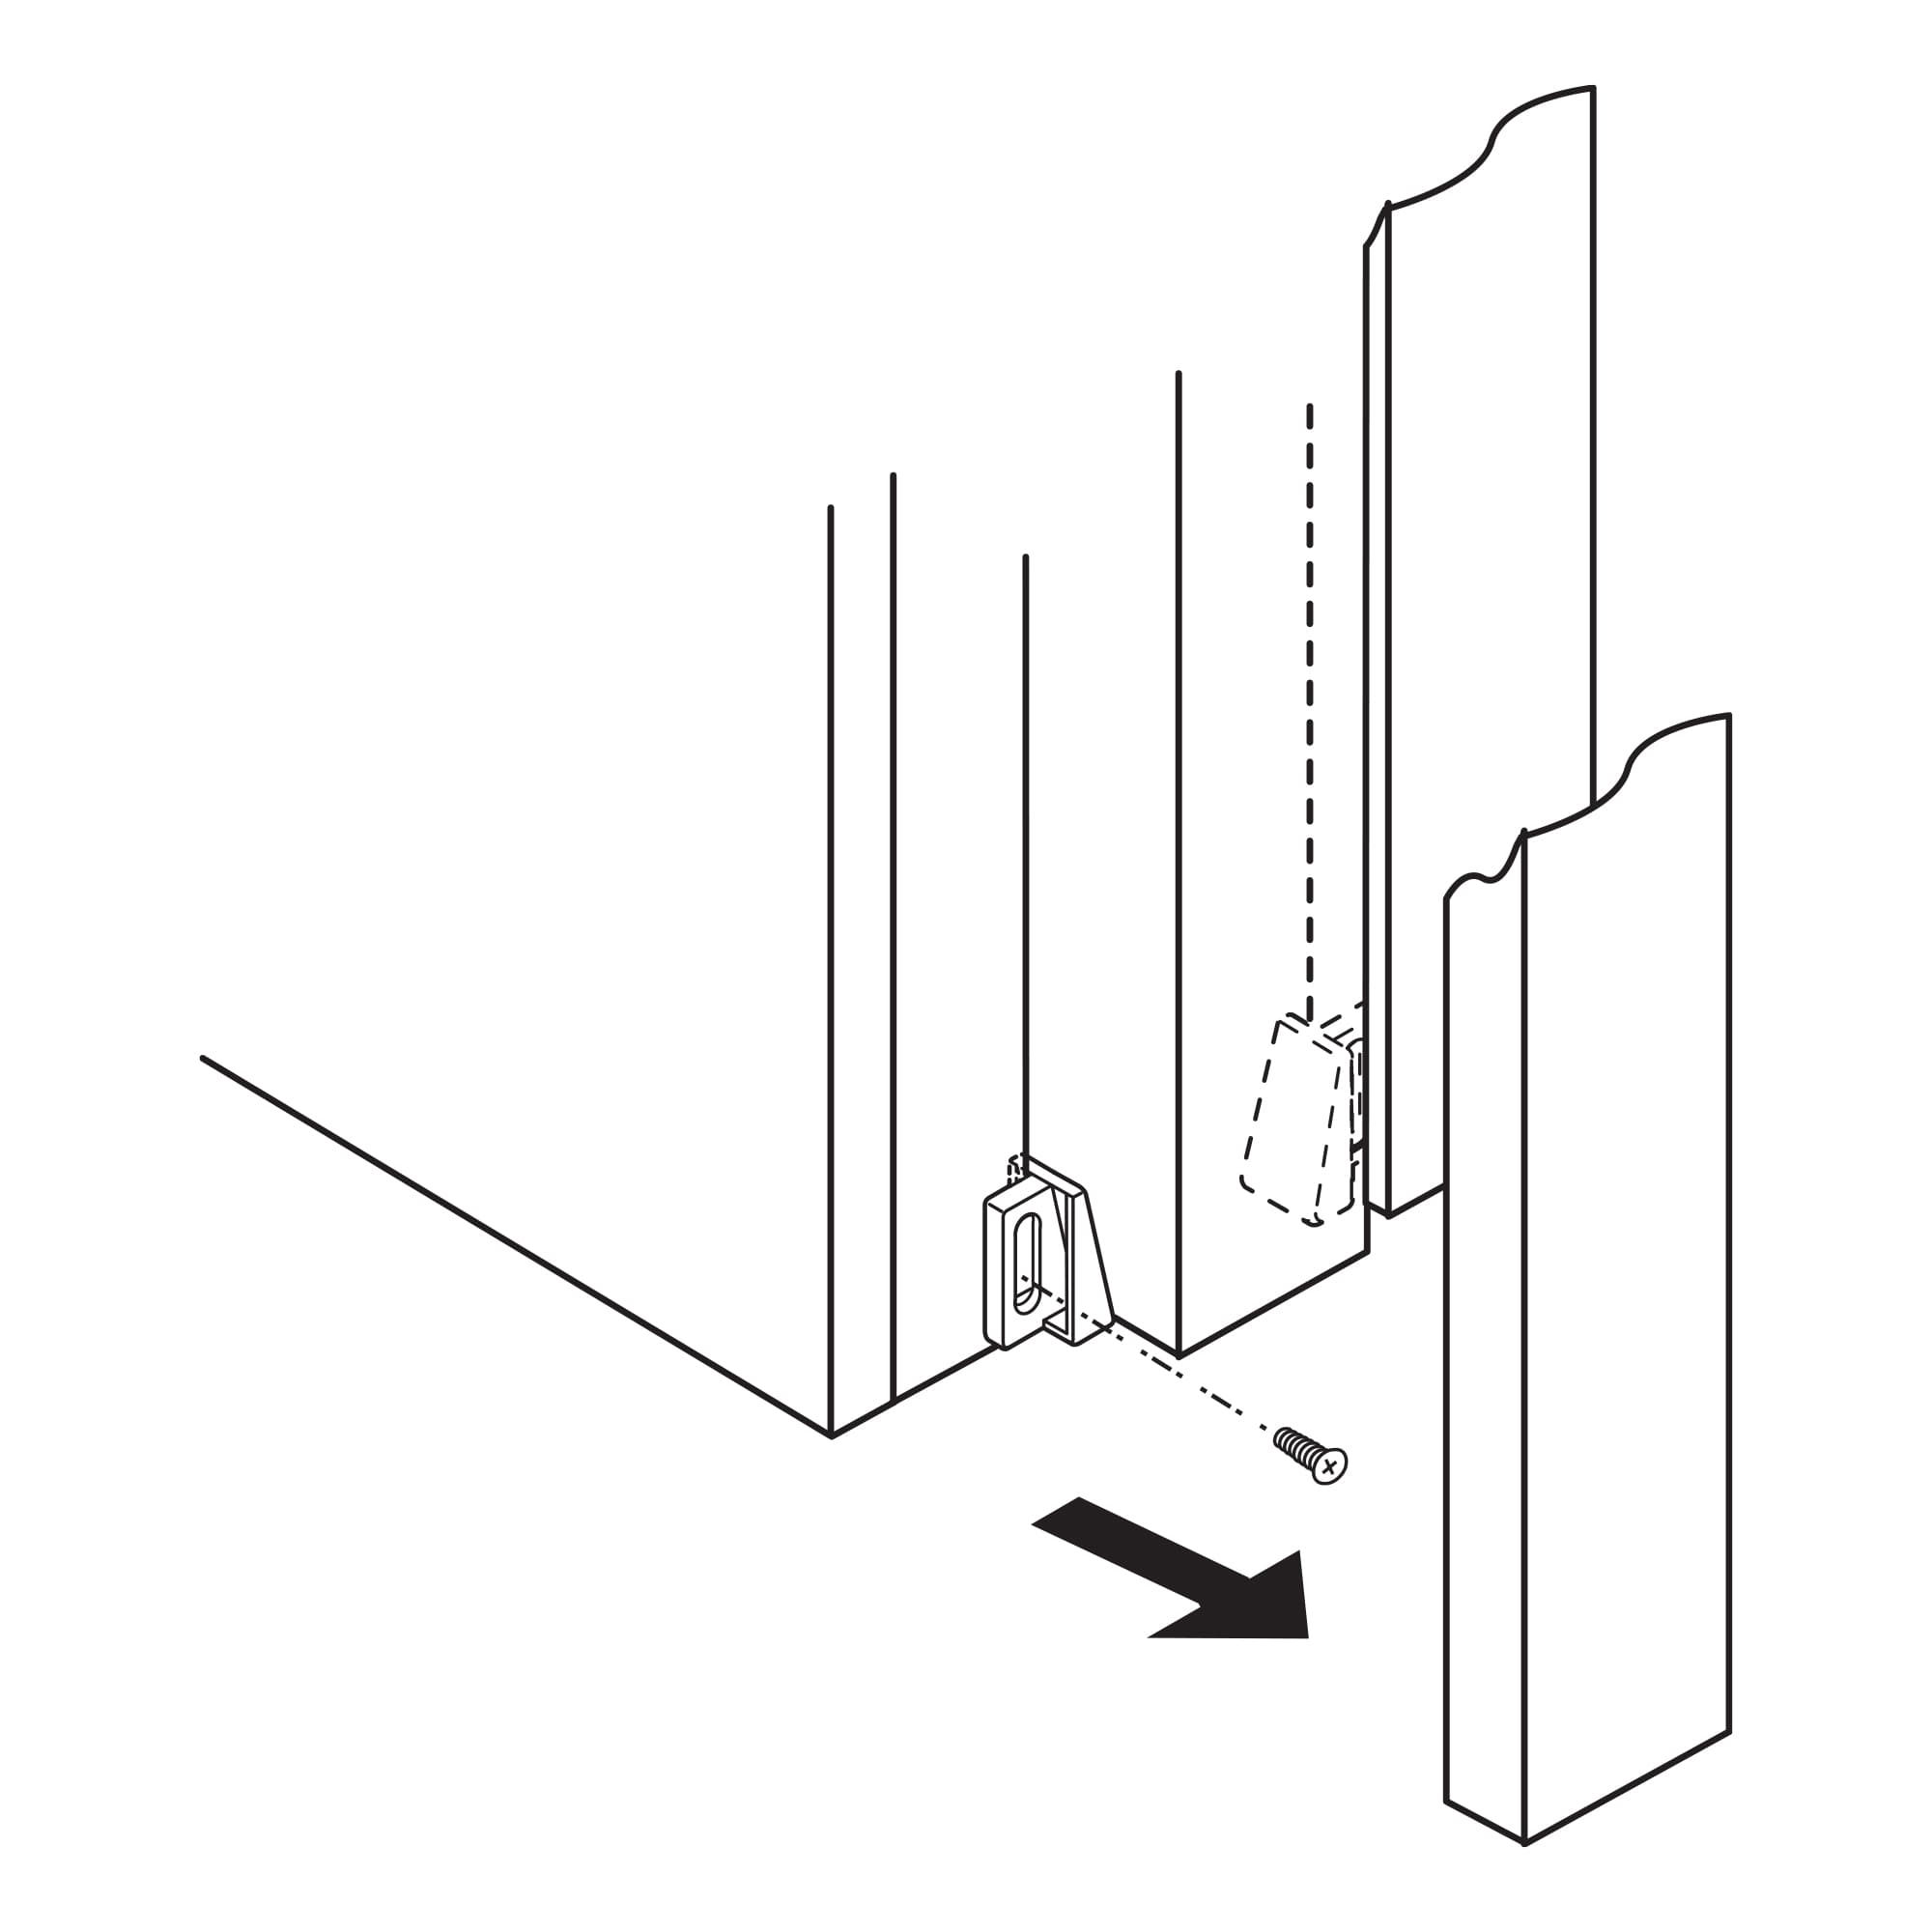
Step 14: Install the Floor Guides
Attach the floor guides to the face jamb as shown. The door should be centered in the pocket.